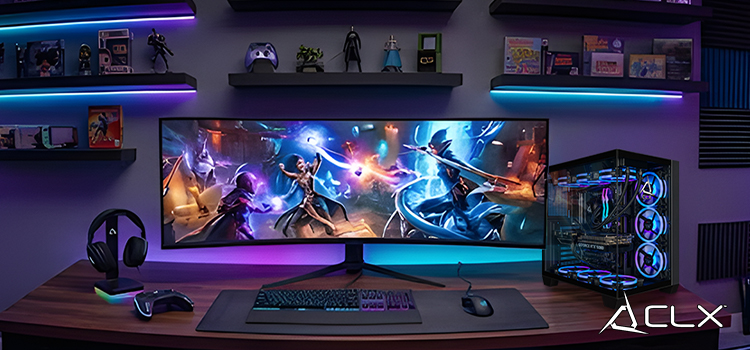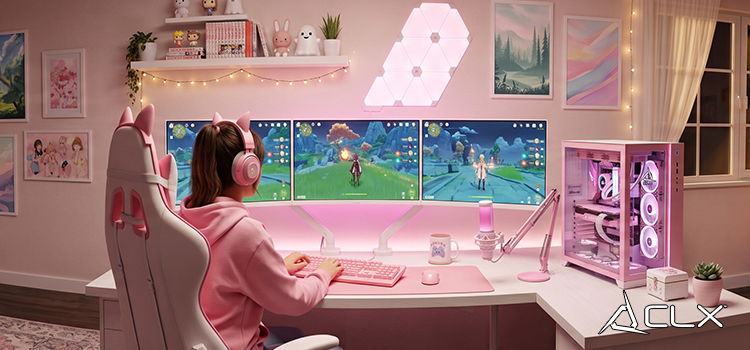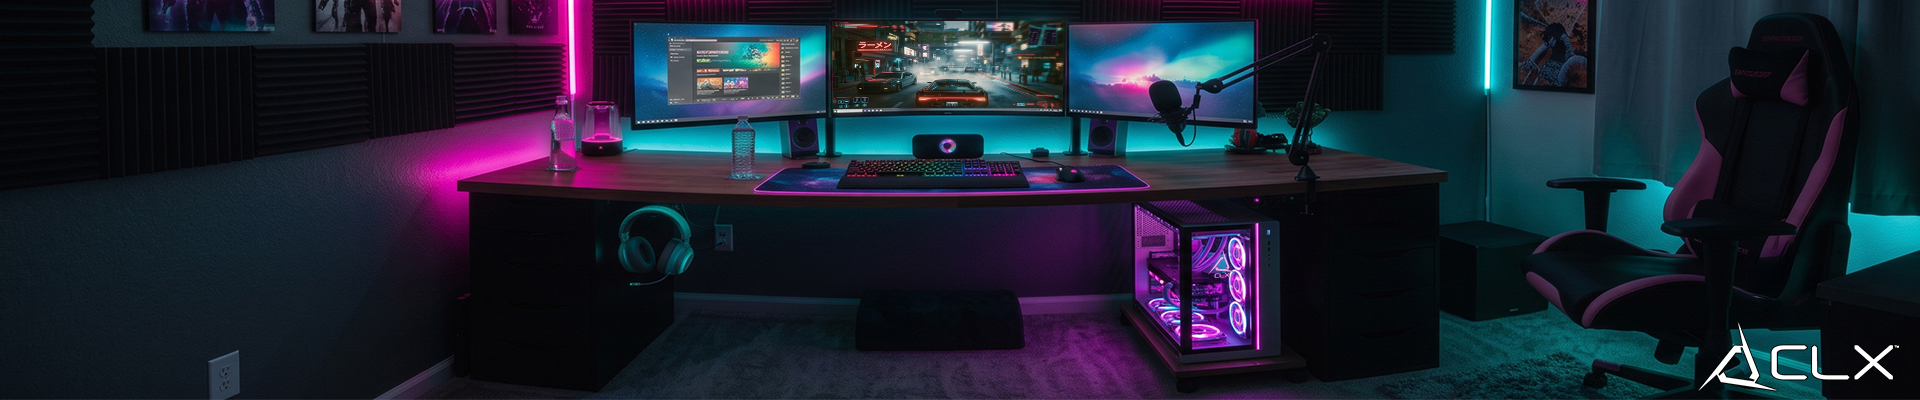
A messy desk doesn't just look bad. It slows you down, traps heat, and makes troubleshooting a nightmare. Before you drop money on a new peripheral or upgrade, spend an hour sorting out the space first.
Start by Pulling Everything Off the Desk
All of it. Controllers, headsets, that stack of games you haven't touched in two years, the mystery cables. Put it on the floor and only bring back what you actually use week to week.
This isn't about minimalism. It's about knowing what you have. Half the time, people buy a new headset stand or cable box because they can't find the one they already own.
Cable Management: Fix This First
Cables are the biggest visual and functional problem in most setups. Here's a simple approach that works:
Group by function. Power cables together, peripherals together, audio separate. You'll thank yourself the next time you need to swap something out.
Use velcro straps, not zip ties. Zip ties make future changes painful. Velcro costs almost nothing and lets you reroute without cutting anything.
Route behind the desk where you can. A cable raceway or a few adhesive clips from Amazon keeps runs flat against the wall or desk leg. For desktop PCs, get the power brick and surge protector off the floor and mounted underneath the desk.
At CLX, every build ships with internal cable management done tight. But even the cleanest tower looks rough sitting next to a desk full of tangled peripheral cables.
Storage That Actually Works
Controllers and headsets get hooks or a stand mounted to the desk or wall. Keep them off the desk surface itself.
Games and accessories go in a dedicated shelf or drawer, sorted by frequency of use. If you haven't touched it in six months, box it.
Extra cables and spare parts go in a labeled bin, not loose in a drawer. When something fails at midnight, you want to find the spare HDMI in under 30 seconds.
Ergonomics Matter More Than Your Chair Brand
Your monitor height, chair height, and desk depth determine how your neck, back, and wrists feel after a four-hour session.
Monitor: the top of the screen should sit roughly at eye level. If you're craning up or down, adjust the stand or get a monitor arm.
Chair: feet flat on the floor, knees around 90 degrees. Most gaming chairs have more adjustability than people ever touch. Spend ten minutes dialing it in.
Desk depth: your keyboard should sit far enough back that your elbows rest at roughly 90 degrees without reaching forward. If your desk is too shallow, a monitor arm buys you a few inches.
Wrist rests help some people, hurt others. Try it before buying a premium one.
Lighting and Aesthetics: Keep It Functional
RGB lighting looks good in photos. Bias lighting (a LED strip behind your monitor) actually reduces eye strain during long sessions by lowering the contrast between your bright screen and a dark room. That's worth doing regardless of how it looks.
Keep overhead lighting out of your eyeline. Glare on your screen costs you more than bad refresh rates.
If you want to theme your setup, pick two or three colors and stick to them. One accent color on the desk mat, one on the tower, one in the bias light. More than that reads as chaos.
The Real Benefit of Doing This
A clean, organized setup is easier to upgrade, easier to troubleshoot, and easier to sit at for long periods. When something breaks or you want to add hardware, you're not fighting the environment to do it.
If your space is sorted but your actual PC is holding you back, that's a different problem. Check the CLX configurator to spec a build around what you actually play and at what resolution. Every system is built, benched, and shipped from Wichita, not drop-shipped from a warehouse.
Build your CLX system at CLXGaming.com